The textures and variable opacity of Photoshop brushes are good for both hinting at the textures of foliage and simulating the effects of natural media.
More experimentation with brush shape and texture in Photoshop, this time trying to copy lighting and color from photographs.
Using the eyedropper to sample a color from a photograph and moving sliders around, rather than squirting paints out of a tube and mixing them together with a brush…feels like cheating. But it’s a good way to quickly see what the dominant colors in an image are. I’m always surprised by what sampled colors look like out of the context of their original image, and I hope to develop a better sense for seeing colors in place with practice.
Playing with brushes in Photoshop and a pressure-sensitive pen tablet. The options are overwhelming at first, but it’s a great medium for experimentation. Don’t like that stroke? Undo. Or erase. Or color over it. Any color can be completely opaque or a light wash. No paint to mix. Nothing to clean up.
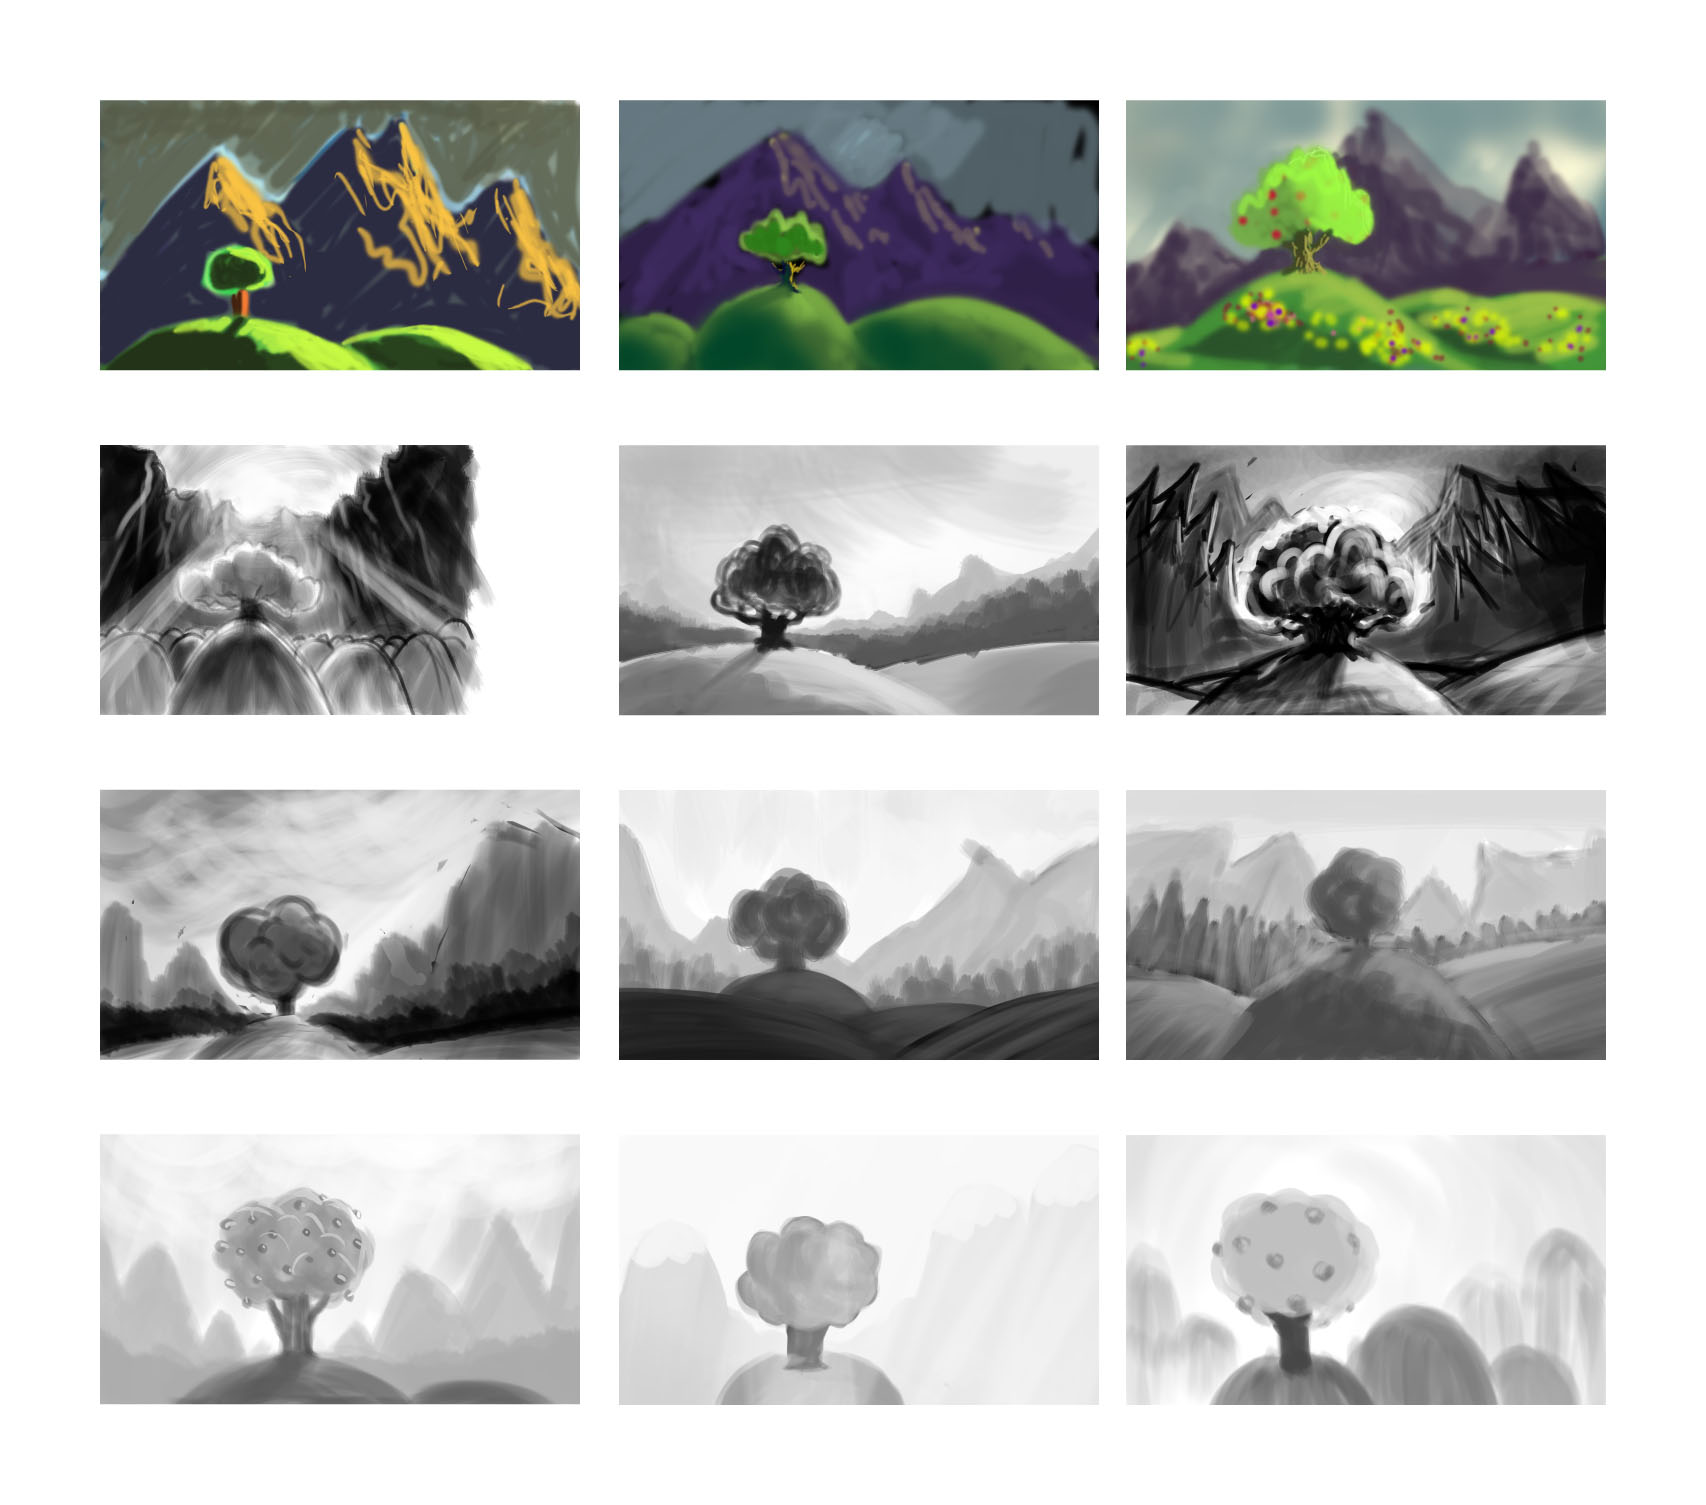
To get better acquainted with the brush tool in Photoshop, I took this scene concept and tried painting some variations of it. The first color attempts were rough, so I removed that variable to focus on value relationships.
I’d previously tried doing the same thing with a set of gray Prismacolor markers, and I have to say that the malleability of a digital drawing is a boon to the novice. On paper, one can only work from light to dark, but in Photoshop, one can try going lighter at any time.
It seems like there are an infinite number of ways to present this simple scene, a single tree on a hill, varying time of day/lighting/contrast and perspective relationship between foreground and background. It was a good exercise to think about the choices, and see the different moods created by varying the lighting/time of day and the perspective relationship between foreground and background.


